

Bubbling on your RV sidewalls is a clear sign of wall failure. This damage spreads when water gets behind the outer skin and rots the wall frame. Prompt action prevents a small bubble from becoming a costly total loss.
Schedule a professional RV body inspection in Denton before delamination spreads.
RV fiberglass delamination repair is the process of fixing the bond between an RV’s outer fiberglass skin and its inner frame. This issue occurs when water enters the wall and breaks the glue that holds the layers together. Based on research on water leaks in fiberglass, wet weather and time cause these wall bonds to fail. Owners often see this as bubbles, wavy spots, or soft areas on the side of their RV or trailer. If you do not fix the source of the leak, the wall will continue to pull apart and rot. Expert repair mostly involves finding the leak, drying the inner wall, and using strong glue to press the skin back in place. This work keeps your rig safe on the road and protects its value.
To save your rig from rot, you must first answer what is RV fiberglass delamination? This guide covers how water damage starts and how the wall layers begin to pull apart. We will show you how to find the leak and stop the rot before it ruins your rig. The path begins with
What is RV fiberglass delamination?
RV fiberglass delamination is a serious wall strength issue where the outer skin of your rig pulls away from the layers beneath it. Most modern RV walls are not a single solid piece. Instead, they are made of several layers bonded together with strong glues. When this bond fails, the outer wall starts to wave, bubble, and warp. This change is more than just a visual problem. It shows that the wall is losing its strength and may soon allow even more damage to occur.
Understanding the layered wall structure
To grasp why walls fail, you must first understand how builders create them. Most modern RVs use a laminated wall system designed for strength and weight savings. This setup usually includes a thin outer layer of fiberglass, a layer of luan wood or foam in the middle, and a metal or wood frame. High-pressure rollers and special glues hold these parts together to form a stiff, single panel. If moisture gets inside this sandwich, it can break the bond between the fiber and the resin. This process is often called hydrothermal aging, which greatly weakens the wall over time.
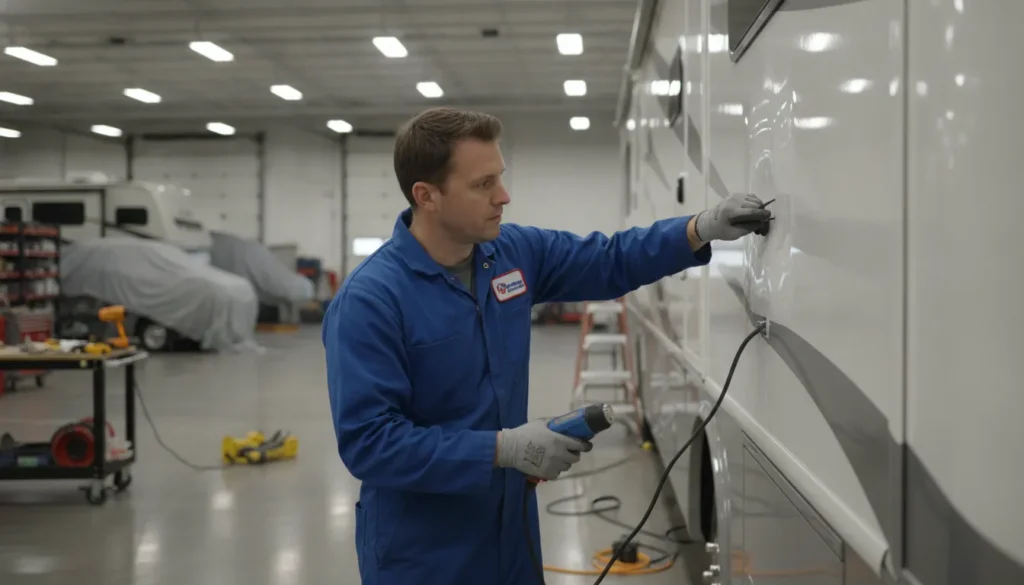
How to spot the first signs
You can often find the first signs of trouble during a routine check of your RV exterior. Look for areas where the fiberglass skin looks wavy or has small, round bumps that look like bubbles. These bubbles show that the outer skin is no longer stuck to the substrate underneath. You might also find soft or spongy spots when you press firmly on the side of the rig. If you ignore these early signs, the air gaps will grow as the rig moves and vibrates on the road. This makes an professional RV body repair much more complex and costly to perform later.
Surface issues vs structural damage
It is easy for some owners to mistake surface problems for delamination. For example, fiberglass can become dull and chalky due to sun contact. This is known as oxidation, and it only affects the very top layer of the gel coat. While oxidation looks bad, it does not mean the wall is falling apart. You can usually fix these issues with fiberglass surface care like buffing and waxing. Delamination is different because it happens deep inside the wall. If the wall feels loose or moves when you push it, you are likely dealing with a bond failure rather than just a surface stain.
The destructive role of moisture
Moisture is the primary enemy of any layered RV wall. Tiny cracks in the roof sealant or around windows allow water to seep behind the fiberglass skin. Once water gets between the layers, it starts to rot the wood or dissolve the glue that holds the wall together. Scientific studies show that long-term exposure to high humidity and rain is the leading cause of these bonds breaking. This is why Patriots RV Services emphasizes that catching leaks early is the best way to avoid the need for an expert RV repair in the future.
Early signs your RV sidewall is delaminating
RV owners often miss the first signs of wall damage until it becomes a big problem. Delamination starts small but can lead to big issues with the frame if you ignore it. It happens when the outer fiberglass layer of your RV pulls away from the wood or foam base inside. Catching these early signs is the key to keeping your unit safe and dry. If you find it early, you can save money on a big repair and protect the value of your coach. Our team at Patriots RV Services sees this issue often in North Texas.
Look for visual bubbles and waves
The first thing you might see is a small bubble on the side of your RV. These bubbles often show up near windows, doors, or the corners of the roof. When light hits the wall at a side angle, you might also see waves in the fiberglass skin. These waves show that the outer wall is no longer flat and smooth against the frame. This change often comes from long-term weather exposure that breaks the bond inside the wall. Over time, these small bubbles can grow into large, ugly bumps that cover many feet of the sidewall.
Feel for soft spots and bulges
Sometimes you can feel damage before it is clear to your eyes. You should walk around your RV and press on the sidewalls with your hand at least once a month. A healthy wall should feel firm and solid like a piece of wood. If a spot feels soft or spongy when you push on it, the glue inside may have failed due to water. You might also find a large bulge that sticks out from the rest of the flat wall. These soft spots are a clear sign that you need an comprehensive RV repair services before the wall fails. Pay close attention to the areas near the bottom of the wall where water often sits.
Check for hidden moisture signs
Water is the main enemy of your RV walls and the cause of most bond failures. Look for stains or dark spots on the outside skin of the coach. These marks can show where water has soaked into the wall layers over a long time. You should also check the inside of your RV for signs of leaks that you might miss. Look for soft walls, peeling wallpaper, or a musty smell near the spots where you saw outside damage. Small cracks in the sealant around your roof, vents, or lights often let water in. If you find these signs, you need to get an expert check as soon as you can to find the leak.
How the damage grows over time
The level of delamination can vary a lot between different RVs and areas. In some cases, you may only have one small spot near a rear corner. In other cases, the entire sidewall might start to pull away from the frame of the unit. Weather and the age of the RV play a big role in how fast the damage grows. High heat can make the fiberglass expand and pull on the glue, while moisture rots the wood substrate. Once the bond is broken, the wall loses its real strength. This can become a safety risk during travel if the wall moves in the wind. Checking your seams twice a year can help you catch these signs before they ruin your trip.
What causes RV fiberglass delamination?
RV fiberglass delamination happens when the outer skin pulls away from the wall frame. This usually starts when the bond between the layers fails. Once the glue gives out, the skin starts to bubble or wave. While it looks like a visual flaw, it is a sign of deep damage inside the wall. Most owners first notice it as a soft spot or a bulge on the side of their rig. Finding the root cause is the first step in a good professional RV roof repair.
Water leaks and seal failure
Water is the most common cause of wall damage in an RV. Most issues start at the seams where many panels meet. Over time, the sealant around windows, doors, and lights can dry out. Even a tiny crack allows rain to seep into the wall. Once water gets inside, it soaks the wood or foam parts. This moisture causes the wood to swell and rot. Research shows that moisture entry breaks the bond between the skin and the frame. This process can happen slowly over many months or even years.
The impact of roof leaks
Many owners do not look at their roof when they see bubbles on their walls. But a leaky roof is a top cause of side panel failure. Gravity pulls water down from the roofline and into the side walls. If the edge seals are not tight, water will run behind the fiberglass skin. This is why we often perform a full RV roof repair when we fix delamination. Keeping the top of your coach sealed is the best way to stop water from ruining your walls. Regular checks can help you find small leaks before they turn into big repair bills.
Heat and sun damage
The sun is another thing that weakens your RV walls. High heat causes the fiberglass and the frame to expand at different rates. This constant back-and-forth movement puts stress on the glue that holds the layers together. In areas with high heat and humidity, this wear happens even faster. Expert studies show that long-term time out in the sun leads to hydrothermal aging of the fiberglass panels. This aging makes the parts more brittle and prone to failing. Without proper care, the Texas sun can bake the life out of your RV’s outer seals and panels.
Cracks and road stress
Small cracks can also lead to major delamination. A stray branch or a small stone can nick the outer gelcoat. Once the outer layer is broken, water has an open door into the wall. Even a hairline crack can pull in moisture. As you drive, the shaking of the road makes the problem worse. The wall flexes as you move, which pulls the weak layers apart. What started as a tiny nick can grow into a large bubble after a few long trips. Checking your rig for small chips after every trip can help you catch these issues early.
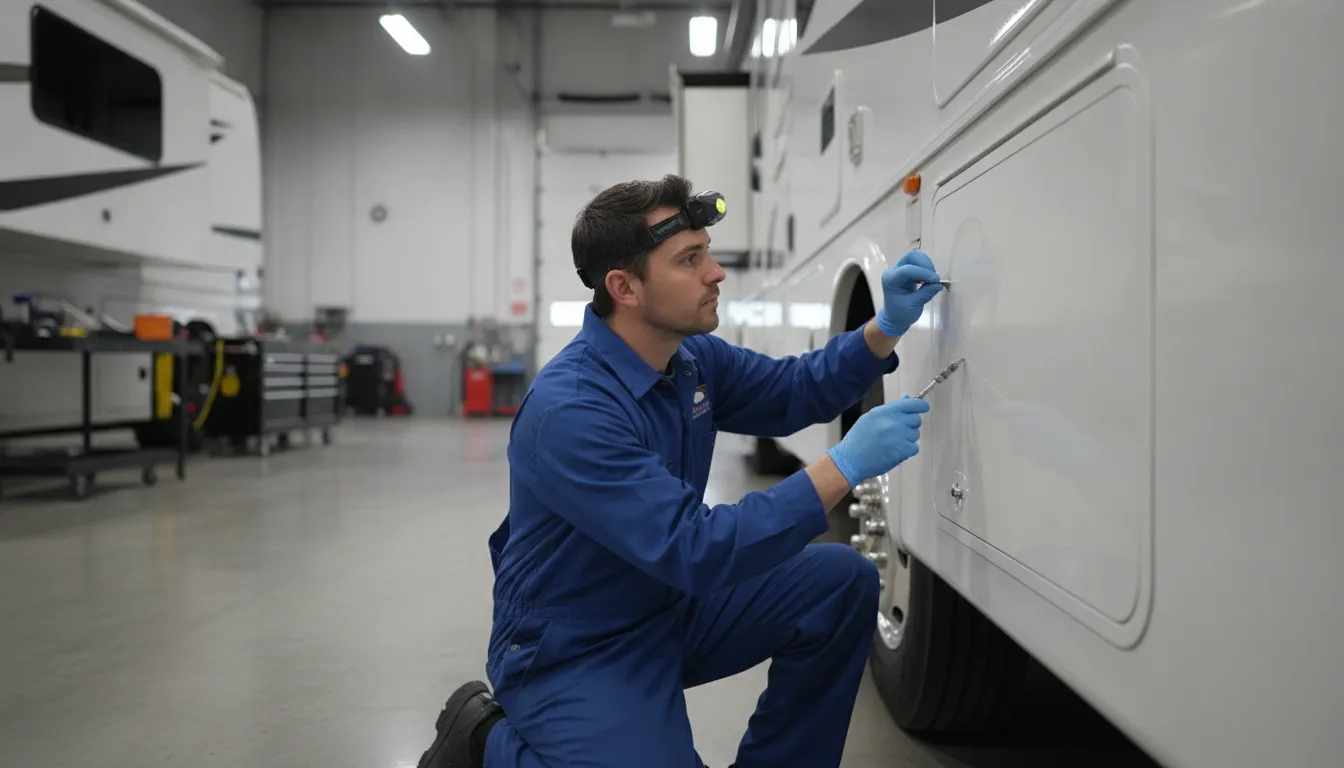
How to inspect suspected RV delamination
Checking your RV for wall damage can save you from a big bill. You want to catch leaks before they rot the wood inside. Most water entry problems start small but grow fast if you do not stop them. You should check the outside of your rig at least once a month. This helps you find thin cracks before they let too much water in.
Spotting waves and bumps
The first thing you will spot is a change in the look of the wall. When water gets in, it breaks the glue that holds the wall layers as one. This is a core part of RV washing and detailing services work. You will see waves or bumps on the side of your RV. These marks mean the skin is pulling away from the frame.
The best way to see these bumps is to use a sharp light. Stand at one end of the RV on a sunny day. Look down the side of the wall from the front to the back. This angle makes any waves stand out. You may see a spot that looks like a bubble. Even a small bump can mean there is a lot of wet wood behind it. If you see this, you need to act fast to stop more harm.
The tap and feel test
If a spot looks bad, you can test it with your hands. Press on the wall with your thumb to see how it feels. A good wall will be hard and solid. A bad wall will feel soft or move when you push it. This soft feel means the layers are no longer stuck fast. It often shows that the wood frame is wet and soft.
You can also tap the wall to hear the shift in sound. Use your knuckles to tap the bad spot and then tap a good spot nearby. A solid wall will make a sharp sound. A wall with damage will sound dull or flat. This helps you find how big the problem really is. It shows you the path the water took as it moved through the wall.
Finding the leak source
You must find out how the water got in. Most leaks come from the roof or the windows. Check the caulk around every vent and seam. Even a small gap can let in enough rain to ruin a whole panel. Check the lights and the trim too. Water likes to hide behind these parts and soak into the wall.
If the wall feels soft or seems to sag, stop your check. This might mean the damage is part of the main frame of the RV. Large jobs like this need a shop with the right tools. If you are in North Texas, you can get expert RV repair help to find the root of the leak. A pro shop can fix the wall and seal the leak so it does not come back.
- Use bright light. Full sun helps you see small bumps and waves on the side of the RV.
- Check the angle. Stand at the corner of your rig and look down the wall to spot any hidden curves.
- Feel the surface. Press your thumb on the wall to find soft spots that move or feel like a sponge.
- Listen for flat sounds. Tap the wall with your hand to hear where the skin has pulled away from the frame.
- Look for cracks. Search the roof line and windows for gaps in the seal that let rain get inside.
- Take clear photos. Record every bad spot you find to show an expert when you ask for a price to fix it.
Why delaying delamination repair can worsen damage
If you see bubbles or soft spots on your RV wall, you may want to wait to fix them. But waiting can turn a small job into a big problem. This type of damage does not stop on its own, and once the outer skin pulls away, the issues start to grow fast. At Patriots RV Services, we see these problems every day. We know that a fast fix is the best way to keep your rig on the road.
Moisture spread and rot
Water is the main cause of RV fiberglass delamination, and once it gets behind the skin, it breaks the bond with the layers inside. This water does not just stay in one place, but moves through the wall and wets more of the board or foam. If your RV has wood layers, that wood will start to rot quickly. Rotting wood gets soft and can no longer hold the fiberglass skin in place.
Long-term weather and heat can also weaken the wall panels. This is called hydrothermal aging. It can lead to a big drop in wall strength. Once the bond is gone, the fiberglass can warp or crack. This lets even more water inside, which makes the rot spread faster. You can stop this cycle by getting an expert RV repair as soon as you find a leak.
Higher costs and more work
A small bubble might only need a small patch or a simple glue job. If you wait, the water can ruin the whole side wall of your rig. Fixing a full wall is much harder than fixing a small spot, and it takes more time and many more parts. Our team needs to strip away the old skin and replace the rotted wood. This takes a lot of skill and a long time to do right.
The price of labor and parts will go up as the damage moves, so a small job can turn into a job that costs thousands. Getting a fast experienced Patriots RV Services team saves you money. It also keeps your RV from sitting in the shop for weeks at a time.
Safety risks on the road
The walls of your RV help keep the roof and frame strong. If the walls get soft from water and rot, the whole rig can become unsafe. Air can catch on loose fiberglass panels while you drive down the road, and this can rip the skin right off the side of your coach. A loose panel is a danger to you and to other drivers.
Most buyers will not buy an RV with clear water damage, because even a small bubble can cut the price of your rig by half. Fixing the problem now helps keep your rig safe. It also keeps the resale value high for when you are ready to sell. Don’t let a small leak ruin your next trip.
RV fiberglass delamination repair options
Fixing bubbles in your RV wall takes more than just glue. You must first find the real reason the wall is pulling apart. Most of the time, rain water gets inside and rots the wood base. This wet wood lets the outer skin pull away from the wall. Before you start any work, an expert must find where the water comes in. They will check the seals on your roof and windows to find the leak. If you do not stop the water, the fix will not last long. At Patriots RV, we treat every check as a mission to save your coach.
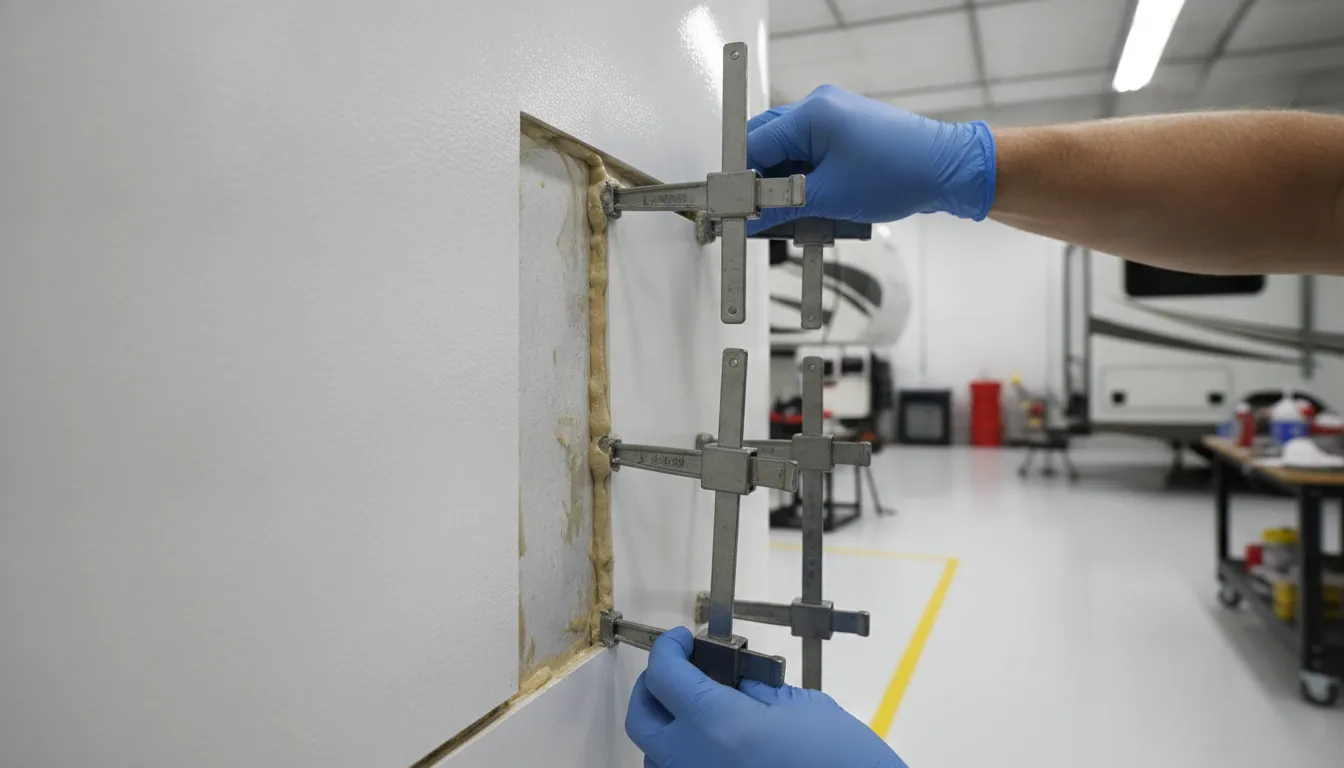
Injection and rebonding fixes
For small spots, a shop might use the injection method. This fix works well if the wood behind the skin is still dry and strong. A worker drills small holes into the bubbled area. Then, they pump in a strong glue to bond the skin back to the wall. They use heavy clamps to hold the wall flat while the glue dries. This path costs less and takes less time. But it only works for small areas where the core of the wall is still good. It will not work if the wood inside is soft or damp.
This method is a common choice for owners who find the problem early. Research shows that moisture entry is the main cause of these breaks in the bond. If the wood is soft, glue will not have a firm place to stick. This is why a pro check is so vital before you pick a path. You can learn more about how we handle these fixes on our page for RV fiberglass delamination repair services. We use the best glues to make sure the bond stays tight even in the Texas heat.
Full panel repair and wall base work
If the wall is soft or the bubble is large, you need a full repair. This means taking off the outer skin to see the damage. Often, the wood base is black with rot and must come out. A shop will cut out the bad wood and put in new, dry parts. Then, they bond a new fiberglass skin over the new base. This work is big and needs a clean, dry shop to do it right. It is the only way to fix a wall that has seen too much water over time. It takes more work but it lasts much longer than a simple glue fix.
In some cases, the whole side wall must be replaced. This happens when the frame or a large area of the core is gone. It costs more, but it brings the RV back to its best state. Our team at Patriots RV has over 45 years of skill in this work. We focus on fixes that last so you can get back on the road with no worries. We serve owners in Denton, North Texas, Oklahoma, and Arkansas with these deep repairs. We know how to match the paint and finish so your RV looks like new again. Our mission is to fix the core, not just the surface.
Final body work and paint
Once the wall is firm, the work is not done. The repair leaves marks where the holes were drilled or where panels meet. A pro shop will sand the area until it is smooth. They use special body filler to hide any gaps or low spots. Then, they prime and paint the wall to match the rest of the RV. This step is what makes the fix vanish. If you skip this, your RV will show the scars of the repair. We take pride in our paint work to ensure your coach looks great from every angle.
| Repair Type | Best For | Work Time | How Long It Lasts |
|---|---|---|---|
| Injection Fix | Small bubbles with dry wood | 1 to 2 days | Medium |
| Panel Repair | Large areas with wood rot | 4 to 7 days | Long Time |
| Full New Wall | Total wall or frame damage | 7+ days | Best Result |
The best choice depends on what a pro finds during the check. A DIY fix can take a long time to do right, and it is easy to miss the real leak. Let an expert shop find the moisture source first. This step saves you money by making sure the fix stays firm for years to come. We make it our mission to give you a wall that is stronger than when it was new. Give us a call to start your check and keep your RV on the road.
When does delamination need professional body work?
You may see a small bubble on your RV wall and wonder if you can fix it yourself. Some small spots can be managed at home, but most cases need an expert touch. Knowing when to call a pro saves you time and keeps your RV safe on the road. Here are the main things to look for when you spot damage.
Large areas of damage
If the bubbling covers more than a few square inches, it is time for RV fiberglass delamination repair. Large sections of loose fiberglass often mean the inner bond has failed. This is usually due to moisture that breaks the seal between the skin and the wall. When large areas pull away, the wall loses its strength. A pro can find out how far the damage spreads using special tools. They can see if the glue is just old or if the wood inside is rot.
Repairing a whole side wall is a big job. It often takes special glue and heavy clamps to set the bond. If you do it wrong, the skin may bubble up again in just a few months. Pros have the space and the gear to do the job right the first time.
- Spots bigger than a foot wide
- Bubbles that move when you press them
- Cracks in the fiberglass skin
Soft spots and water leaks
Water is the main enemy of your RV walls. If the area feels soft or spongy when you touch it, you have a leak. You must stop the water before you fix the skin. An expert RV fiberglass delamination repair starts with a full leak test. They find the source of the water and seal it tight. If you only fix the bubble, the water will just cause more rot later.
Rotten wood inside the wall is a serious issue. It can lead to mold and bad smells in your living space. In some cases, the wood may need to be cut out and replaced. This level of body work is hard to do without the right shop tools. A tech will check the roof, windows, and seams to make sure no more water can get in.
Maintaining resale value
Your RV is a big investment. Poor repairs can hurt its value when it is time to sell. A DIY patch job often leaves marks or uneven spots on the wall. Buyers look for these signs of water damage and may walk away. Expert body work makes the repair look like it was never there. They can match the paint and feel of your RV skin just right.
Choosing an expert means you get a bond that lasts for years. They use high-grade glues that stand up to heat and cold. This keeps your RV looking great and keeps it strong. If you want to keep your rig for a long time, do not skip on quality work. It is the best way to protect your mission-critical vehicle.
- Color matching for the finish
- Smooth, flat wall surfaces
- Proper sealing of all exterior seams
Frequently Asked Questions
Can you repair RV fiberglass delamination yourself?
You can fix small spots of RV delamination at home if you have the right tools and patience. This job needs you to drill small holes and inject strong glue into the wall. You must also use clamps to hold the layers tight while the glue sets. But large areas or rot in the frame often need a pro shop. According to RV with Tito, a full DIY repair can take up to seven days of hard work.
What materials are needed for RV delamination repair?
Basic repair kits usually include a two-part epoxy glue, a syringe for injection, and wood or plastic plugs. You will also need heavy-duty clamps and long boards to spread the pressure across the wall. Some owners find that basic supplies cost about 300 dollars when bought online. For bigger jobs, you might need new wood panels and rolls of fiberglass skin. Always use high-quality glue that can stand up to high heat and road shaking.
How do you repair RV wall delamination?
Fixing a delaminated wall has several key steps. First, you must dry the area to remove all moisture. Next, you inject a strong glue into the gap between the skin and the frame. You then use a clamping system to bond the layers back together. For large areas, a pro shop may need to remove the whole side wall to replace the rot. Scientific reviews show that moisture-induced aging is the main reason these bonds fail.
How do I stop further RV delamination?
The best way to stop damage from growing is to find and seal every water leak. Check the caulk around your roof, windows, and doors to keep rain out. If you find a bubble, you should cover it with a tarp during storms until you can fix it. Regular care is key to stopping water intrusion before it ruins the bond of your walls. Keeping your rig in a covered shed can also help protect it from the hot sun.
Ready to schedule a professional RV body inspection?
Ignoring signs of fiberglass damage can lead to deep rot in your walls. Water seeps into cracks and starts to eat away at the frame of your rig. This can turn a simple fix into a massive project that costs much more money. It might even make your RV unsafe to drive or too costly to sell. Getting an expert look now helps you avoid these high costs. It also protects your investment and ensures you are ready for your next trip without any worry. Our team works fast to find the root cause of the issue. We want you to get back on the road with a rig that is safe for the whole family. You can see how we handle these repairs on our RV paint and body shop page in Denton.
Ready to schedule a professional RV body inspection? Call (940) 488-5047 to schedule a professional RV body inspection.