

Step-by-Step Guide to Painting Your RV’s Exterior: Techniques and Tips
Painting your RV’s exterior can give it a fresh new look and protect it from weather damage. Finding a reliable RV body shop might be expensive, so many RV owners choose to do the work themselves. This guide walks you through the complete process from start to finish. We’ll cover surface preparation, choosing materials, cleaning steps, primer application, and painting methods. With the right approach and patience, you can get professional-looking results at home.
Preparing the RV’s Exterior Surface
Start by cleaning and checking your RV’s exterior before painting. Wash the entire surface with mild soap and water to remove dirt, grime, and old wax. Focus extra attention on seams, joints, and trim where buildup happens most. Look for damage like rust, dents, or peeling paint that needs fixing first. Sand down rough spots to create a smooth surface. This careful prep work makes sure your new paint job looks great and lasts longer.
Choosing the Right Paint and Supplies
Pick the right paint based on your RV’s material. Fiberglass RVs work best with acrylic enamel or quality acrylic latex paint. Aluminum RVs need acrylic or oil-based paints. Make sure your paint matches the RV material to avoid peeling or bubbling later. Choose a color that complements your RV’s style. Get quality supplies, including brushes, rollers, painter’s tape, sandpaper, and safety gear like a mask. Buy primer made for your RV’s surface to help paint stick better and last longer.
Cleaning and Sanding the Surface
Clean your RV surface with mild soap and water to remove all dirt and residue before sanding. This step helps paint stick properly and creates a smooth finish. Here’s what to do:
- Use a pressure washer or high-pressure hose nozzle to remove tough dirt and grime
- Scrub with a sponge or soft brush to clean areas that need extra work
- Let the surface dry completely before sanding to avoid paint problems later
These steps give you a clean surface ready for painting.
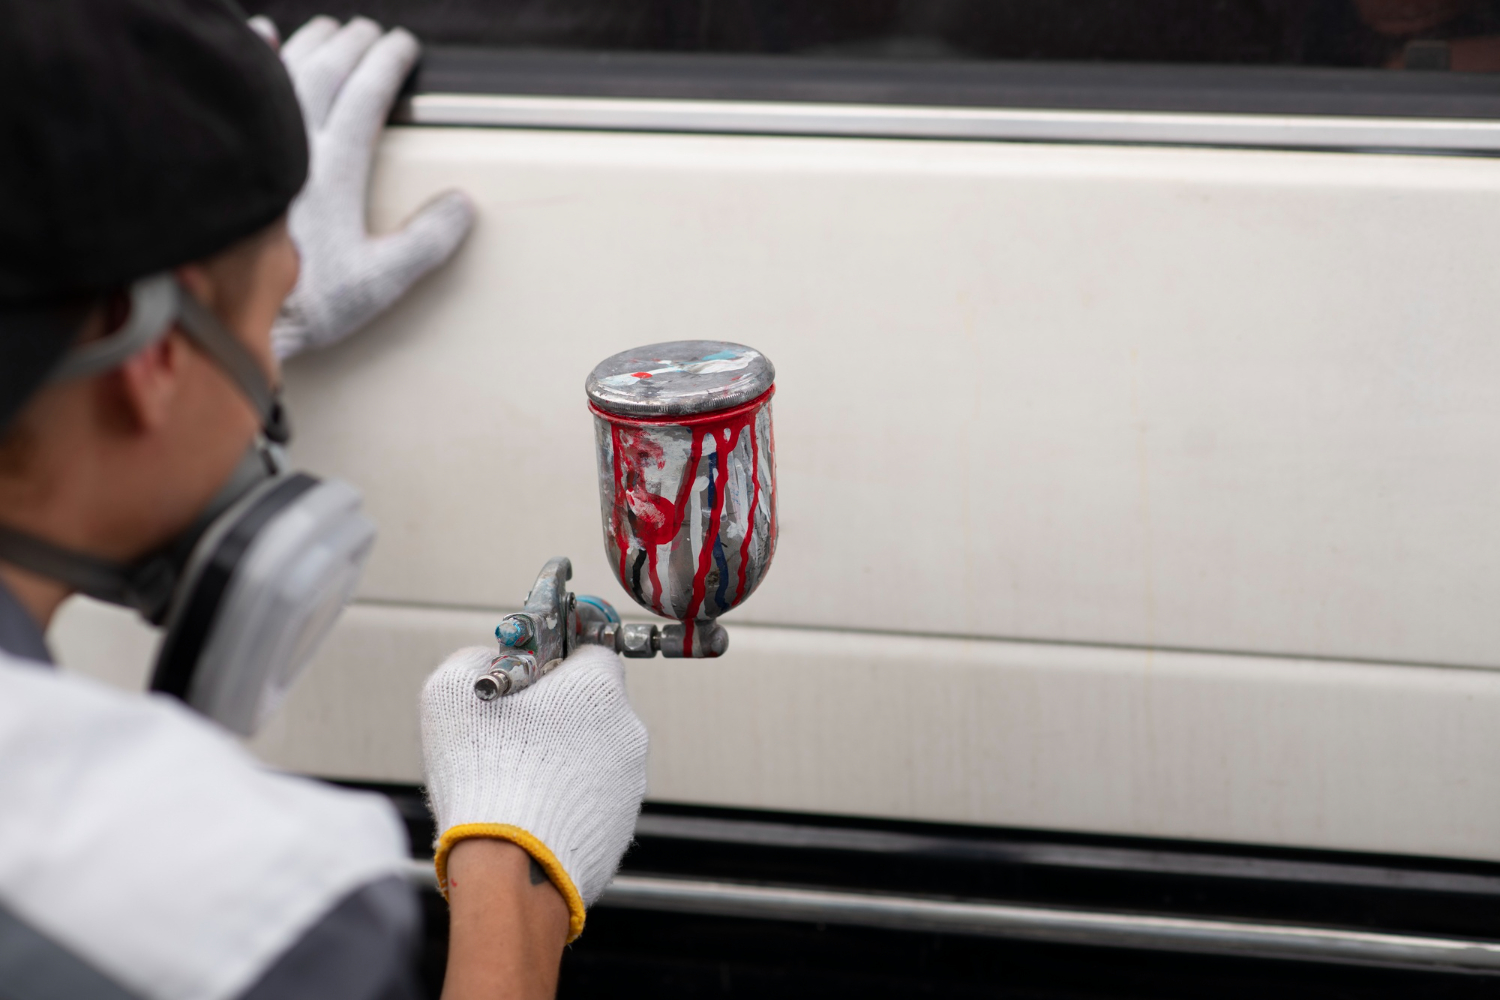
Applying Primer and Base Coat
A good primer and base coat application gives you strong adhesion and a finish that lasts. Pick a quality primer that works with your RV’s surface material. Make sure the surface is clean, dry, and free of dirt before applying primer. Use a paint sprayer or roller to coat the surface evenly. Follow the maker’s directions for drying time between coats. After the primer dries completely, apply your base coat. Choose durable paint made for outdoor use. Apply the base coat evenly with smooth, overlapping strokes for uniform coverage. Allow proper drying time before adding more coats.
Painting Techniques for a Smooth Finish
Getting a perfect finish requires using the right painting methods. Follow these steps for smooth, professional results:
- Proper Surface Preparation:
- Clean and sand thoroughly to remove dirt, rust, or old paint
- Use quality primer to create a smooth base for your topcoat
- Fill imperfections with filler and sand lightly for an even surface
Finishing Touches and Maintenance
After your paint cures completely, check the surface for problems like drips or uneven spots. Use fine sandpaper to gently smooth out any flaws. Apply clear sealant to protect your paint from sun damage and weather. Clean your RV regularly with mild soap and water to remove dirt that can damage paint over time. Check the exterior often for chips or fading, and fix these spots quickly to keep your RV looking great.
Related Topics:
Need Professional RV Service in Denton, TX?
Call (940) 488-5047 — Patriots RV Services, your mission-critical RV service center in Denton, TX.