
PRVS Blog
RV Solar Power Calculator: Size Your Off-Grid Setup
Boondocking near Ray Roberts Lake or across North Texas becomes frustrating when the solar system is sized by guesswork. Too few panels leave the batteries short, while an oversized inverter can add cost, heat, and unnecessary draw.
An rv solar power calculator should start with your measured daily watt-hour load, then account for battery capacity, local peak sun hours, conversion losses, and the inverter's highest simultaneous demand. In North Texas, the same system may produce more energy during long summer days than during shorter winter conditions, so seasonal margin matters.
Call Patriots RV Services at (940) 488-5047 before you purchase equipment if your planned system includes lithium batteries, an inverter, or a custom installation.
The reliable path is to document every device, convert its use into daily energy, and build each component from that load audit. Once the demand is clear, the panel, battery, and inverter calculations become straightforward and easier to verify.
How to Calculate Your RV Solar Power Needs with a Real Load Audit
Start with measured use, not the panel wattage you hope to install. An accurate load audit lists each device, its operating watts, and the hours it runs during a typical boondocking day.
Inventory every DC and AC load
Walk through the RV and record the refrigerator, interior lights, water pump, furnace fan, television, USB chargers, and inverter idle draw. Include appliances that cycle on and off, such as the refrigerator and furnace. Estimate their daily runtime rather than using the length of your camping day.
For 12-volt devices, the basic calculation is amps multiplied by hours of use. This produces amp-hours, or Ah. For watt-based equipment, calculate watts multiplied by hours to produce watt-hours, or Wh. The relationship is:
Daily Wh = watts x hours
Daily Ah at 12V = daily Wh / 12
Use the appliance label, a clamp meter, or a plug-in meter for better inputs. Inverter-powered equipment needs extra attention because conversion losses increase the energy drawn from the battery. NREL guidance also recommends accounting for inverter, controller, and battery efficiency losses in the load analysis.
| Load | Estimated watts | Hours per day | Daily Wh | 12V Ah |
|---|---|---|---|---|
| Refrigerator control and cycling | 60 | 8 | 480 | 40. |
| LED lights | 30 | 4 | 120 | 10. |
| Water pump | 60 | 0.5 | 30 | 2.5. |
| Furnace fan | 80 | 2 | 160 | 13.3. |
| TV and USB charging | 100 | 3 | 300 | 25. |
| Inverter idle draw | 25 | 24 | 600 | 50. |
This example totals 1,690 Wh, or about 141 Ah at 12 volts, before efficiency losses. Your actual total may differ substantially. Measure the refrigerator cycle, furnace runtime, and inverter idle draw instead of assuming their values.
Build in real-world downtime
Cloud cover, seasonal changes, and partial production downtime can reduce solar harvest. Add a practical reserve to the audited load, then size the battery and array from that adjusted figure. A calculator that ignores low-production periods can leave the battery short before the next sunny day.
For a system tailored to your appliances, battery chemistry, and boondocking plans, explore RV solar and off-grid upgrades from Patriots RV Services.
Sizing Your RV Battery Bank for Boondocking in North Texas
Your battery bank determines how long the RV can operate when clouds, shade, or nighttime stop solar production. Size it for daily energy use, desired autonomy, battery chemistry, and realistic reserve capacity.
Compare usable capacity, not label capacity
A 12V 100Ah lithium battery stores approximately 1,280 watt-hours before system losses. That figure is total capacity, not necessarily capacity you should use every day. In practical planning, usable watt-hours equal rated watt-hours multiplied by the permitted depth of discharge, or DoD.
LiFePO4 batteries generally support deeper discharge than lead-acid batteries. They also offer stable chemistry and commonly exceed 3,000 to 5,000 cycles when properly managed. Lead-acid banks usually require a larger reserve because routinely discharging too deeply can shorten service life.
State of charge matters especially with lead-acid batteries. Maintain the bank above its minimum safe threshold, such as 20 percent, rather than treating the final reserve as available daily energy. See the NREL battery technology guidance for chemistry and cycle-life context.
Calculate autonomy days
Start with your measured daily consumption in watt-hours. Then multiply that figure by the number of days you want to operate without sufficient solar input. That autonomy target should reflect your North Texas travel pattern, seasonal weather, and access to a backup charging source.
For example, a 1,000 watt-hour daily load with two days of autonomy requires 2,000 usable watt-hours. If your planning limit allows 80 percent DoD, divide 2,000 by 0.80. The result is 2,500 watt-hours of rated storage, before allowing for inverter and wiring losses.
System efficiency losses matter because batteries, inverters, and charge controllers do not deliver every rated watt-hour to the appliances. Add a practical reserve for cloudy periods and unexpected loads. A battery bank sized only for an ideal day can leave you running a generator sooner than expected.
When a larger lithium bank makes sense
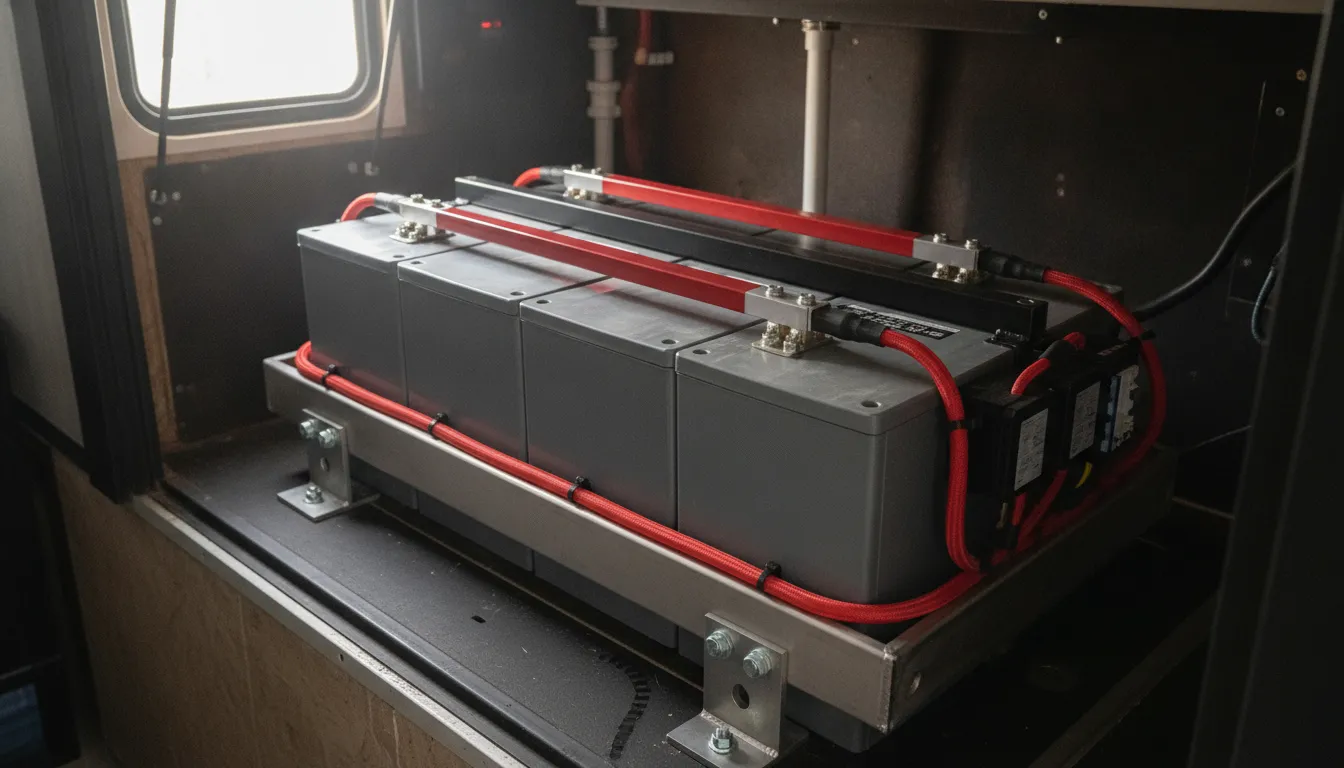
An Epoch 460Ah lithium battery is a premium upgrade for owners who need substantial usable storage. It can support longer off-grid stays while reducing the daily depth of discharge compared with a smaller bank.
Temperature performance also belongs in the design. Lithium batteries generally perform across a wider temperature range than traditional lead-acid batteries. The battery management system and installation location still require careful review, particularly during cold-weather charging.
For a deeper treatment of battery math, review our guide to how to size an RV lithium battery bank. This article keeps the focus on the complete system calculator. If you are comparing upgrade paths, review the factors that affect RV solar installation cost.
Choosing the Right RV Solar Array: Panels and Peak Sun Hours
Once you know your daily energy demand, convert that demand into an array size that reflects local sunlight and system losses. The basic sizing formula is:
Array watts = daily watt-hours ÷ peak sun hours ÷ system efficiency.
For example, a 1,500 watt-hour daily load, 4.5 peak sun hours, and 80 percent system efficiency requires about 417 watts. A 500-watt array provides a practical margin for clouds, heat, wiring losses, and additional use.
Peak sun hours are not the same as daylight hours. One peak sun hour represents sunlight equivalent to one hour at a standardized strong intensity. North Texas commonly provides roughly 4 to 4.5 peak sun hours in winter and 5 to 5.5 in summer. Seasonal variation must be included in any rv solar power calculator estimate. The National Renewable Energy Laboratory explains why location affects photovoltaic production.
Use the lower seasonal figure when dependable winter performance matters. Cloud cover and other downtime can reduce actual production further, so sizing to an average summer day can leave the battery short during an extended North Texas trip.
MPPT or PWM: Which Controller Fits the Array?
The charge controller regulates panel output before energy reaches the battery. It must handle the array's maximum current, including the panel configuration and expected operating conditions.
Pulse-width modulation, or PWM, is simple and can work with smaller arrays using closely matched panel and battery voltages. However, PWM gives up more available panel power when conditions or voltages vary.
Maximum power point tracking, or MPPT, continuously adjusts the operating point to capture more usable energy. MPPT controllers generally outperform PWM controllers, particularly when weather changes or the array voltage differs from battery voltage. That additional harvest can matter when roof space is limited.
Controller selection also depends on panel voltage, array wattage, battery voltage, and maximum current. Oversizing the panels without checking controller limits can create heat and reliability problems.
Roof footprint often determines the panel choice. High-efficiency panels produce more watts in limited space, which helps when air conditioners, vents, skylights, and roof-access paths compete for mounting area. Keep panels clear of accessory shadows whenever possible. Even partial shading can reduce array performance.
Orientation also affects production. A fixed RV panel is usually mounted flat, but tilt and direction influence daily harvest. If portable or adjustable mounting is appropriate, orienting the array toward stronger sun can improve output. For a permanent system, careful placement and realistic efficiency assumptions matter more than chasing a laboratory rating.
For a complete design, Patriots RV Services can match panel wattage, controller capacity, wiring, and battery charging requirements. Review the RV solar panel installation guidance before choosing equipment.
How to Size an RV Inverter for Off-Grid AC Loads
Choose an inverter by the highest combination of appliances you may run at one time. Average daily consumption matters for battery and solar sizing, but it can undersize the inverter.
Start by listing every 120V AC appliance you expect to use from the batteries. Record its running watts, then identify appliances with startup or heating surges. Add the running watts for the maximum simultaneous combination, rather than adding every device in the RV.
For example, a coffee maker and microwave may each operate briefly, but their combined demand can exceed a small inverter's continuous rating. Microwave ovens and air conditioners also need substantial surge capacity. An inverter with inadequate surge capacity may shut down, alarm, or trip its protection circuit when a large-draw appliance starts. RV AC repair services can help identify the electrical demand of an existing rooftop unit before you include it in the design.
Allow a practical margin above your calculated peak. The inverter must support the highest simultaneous load continuously, while its surge rating must cover short startup or heating demands. This approach follows the principle that inverter sizing should reflect peak demand, not only average load. NREL solar guidance also emphasizes accounting for real operating conditions when evaluating system performance.
Understand the 12V DC to 120V AC conversion
RV electrical systems commonly use both 12V DC battery power and 120V AC appliance power. The inverter converts stored battery energy into the household-style AC power required by receptacles and hardwired appliances. Learn how these circuits interact in our guide to RV electrical systems.
Conversion is not lossless. The battery supplies additional DC energy for inverter inefficiency, so battery and solar calculations should include those losses. The inverter also consumes a small amount of power while enabled, even when no appliance is operating. That idle draw can become meaningful during overnight boondocking, especially when the inverter remains on for convenience.
When a Victron inverter/charger makes sense
A Victron inverter/charger can combine inverter operation with battery charging and coordinated system management. The correct model still depends on continuous watts, surge requirements, battery voltage, wiring, and the loads you will actually operate. Explore Victron Energy solar integration when you need a coordinated off-grid design rather than a standalone inverter.
Document the peak load, surge requirement, and expected idle hours before selecting equipment. A qualified design review can then match the inverter to the battery bank, protection devices, and intended boondocking use.
RV Solar Power Calculator Worked Example: A Denton Owner's Boondocking Setup
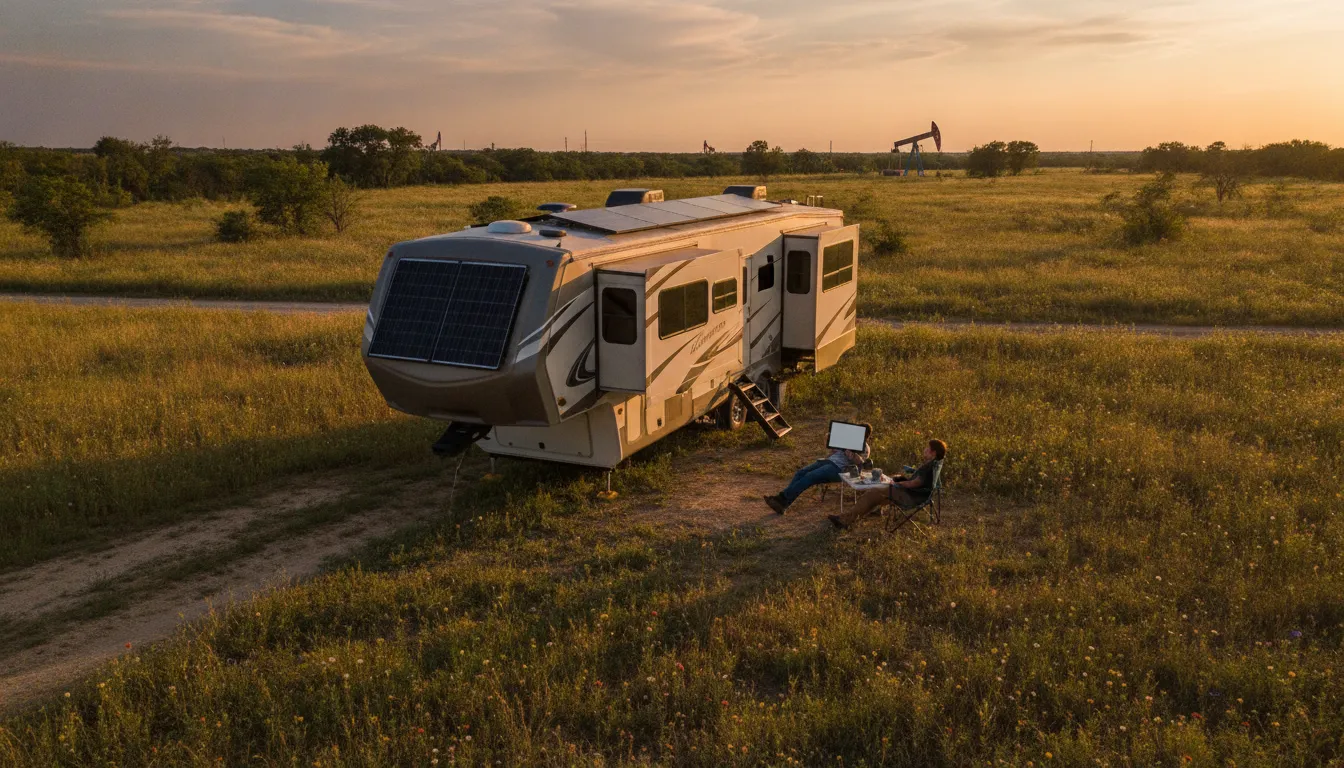
Consider a Denton RV owner spending several nights near Ray Roberts Lake, the Red River, or the Wichita Mountains. The goal is dependable power without guessing at panel or battery size. This example uses a realistic daily load, then adds capacity for weather and unexpected demand.
Step-by-step math
Start by converting each appliance into watt-hours. Multiply running watts by daily operating hours. For intermittent equipment, use the actual expected runtime rather than the full day.
- 12V compressor refrigerator: 35 watts x 24 hours equals 840 Wh.
- LED lighting: 30 watts x 4 hours equals 120 Wh.
- Water pump: five minutes per hour, estimated within the daily load.
- Furnace fan: 4 amps x 12 volts x 2 hours equals 96 Wh.
- Television and USB charging: 60 watts x 3 hours equals 180 Wh.
- Laptop: 45 watts x 2 hours equals 90 Wh.
- Inverter idle draw: 10 watts x 20 hours equals 200 Wh.
With the water pump included in the running estimate, the daily requirement is approximately 1,550 watt-hours. Actual use will vary, so the owner should track battery data after installation and adjust the load profile.
The battery calculation comes next. A 200Ah LiFePO4 bank at 12.8 volts stores about 2,560 watt-hours. Applying an 80 percent depth-of-discharge limit leaves slightly more than 2,000 usable watt-hours.
That provides a practical one-day reserve for this example, but it does not guarantee multiple cloudy days. Battery sizing should reflect the desired autonomy period, seasonal conditions, and any loads omitted from the initial audit. A deeper battery discussion belongs in the guide to sizing an RV lithium battery bank.
Now size the array using North Texas production. Assume 4.5 peak sun hours and 80 percent overall system efficiency:
- 1,550 Wh daily load divided by 4.5 peak sun hours divided by 0.80 efficiency equals approximately 430 watts.
- Round up to a 500-watt solar array for practical installation and additional recovery capacity.
Summer conditions may provide about 5.5 peak sun hours, but production changes with season, cloud cover, roof orientation, and shading. A 500-watt array can produce roughly 1,750 to 2,000 watt-hours on a favorable day, not a guaranteed daily output. See the guide to RV solar panel installation for roof planning details.
Finally, size the inverter for peak demand, not the average load. A 2,000-watt continuous inverter with 4,000-watt surge capacity gives this owner room to start a microwave while other equipment remains connected. The final design should include safety margin for startup surges, temperature, shading, cloudy weather, and loads missing from the first audit. Patriots RV Services can design RV solar and off-grid upgrades around the actual coach and travel pattern.
From Math to Installation: Wiring, Shading, and System Monitoring
A sound design can still underperform when installation details create losses. Wire runs, panel placement, battery connections, and monitoring determine whether the calculated capacity reaches your appliances.
Control voltage drop and battery imbalance
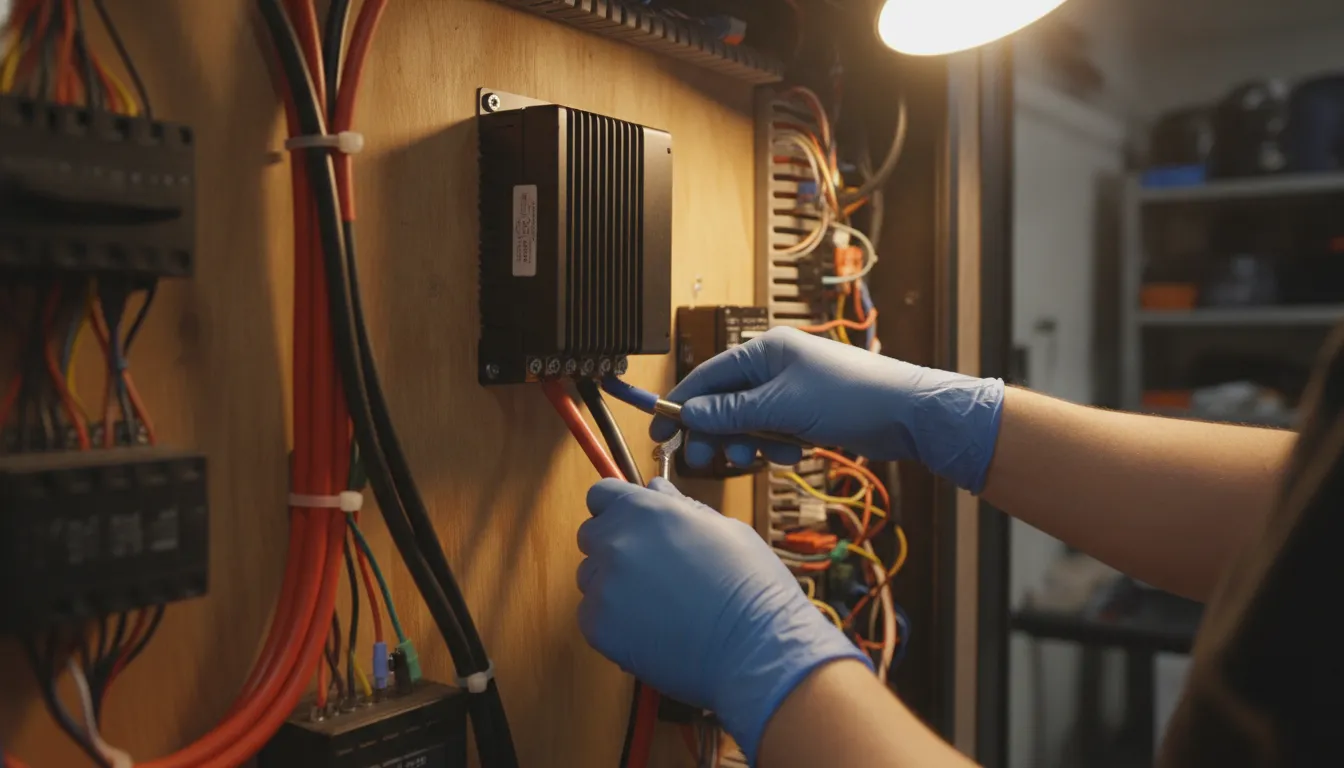
Choose wire gauge based on current, distance, and allowable voltage drop. Undersized conductors waste energy as heat and reduce the voltage available to the charge controller or inverter. The solar installation guide explains why proper wire gauge matters across the panel-to-controller run: RV solar panel installation.
Battery banks require the same discipline. When multiple batteries are paralleled, each path should have equal resistance. Matching cable lengths and connection points helps each battery charge and discharge evenly. Unequal resistance can make one battery work harder while another contributes less capacity.
Protect each circuit with appropriately rated fuses or breakers. Secure cables against abrasion, heat, and movement. Keep high-current connections accessible for inspection, but shield exposed terminals from accidental contact.
Plan around shade and roof constraints
Roof-mounted air conditioners, vents, antennas, and other accessories can cast shade across panels. Even partial shading can reduce array performance, so map shadows throughout the day before choosing panel locations. Orientation also affects production, although most RV panels remain fixed and flat.
Limited roof space makes panel efficiency important. A professional layout should balance usable roof area, service access, airflow, cable routing, and future maintenance. Do not fill every open space if the placement creates avoidable shade or unsafe access.
Monitor energy balance in real time
An intelligent battery management system tracks cell conditions and helps protect lithium battery health during charging and discharging. Real-time energy monitoring also shows solar harvest, load demand, battery state of charge, and daily balance. That information turns the calculator into a feedback tool.
Victron monitoring can reveal whether a problem comes from increased consumption, poor solar production, or a charging fault. Set practical low-state-of-charge alerts before the bank reaches a damaging condition. Review the data after cloudy days, heavy inverter use, or unusual overnight loads.
Include a generator or another secondary charging source for extended low-solar periods. Cloud cover and seasonal variation can reduce production, even when the array is correctly sized. Safety margins should cover those conditions and unexpected surges without forcing the battery bank to its limits.
Call (940) 488-5047 for a custom RV solar system design that accounts for your wiring, roof layout, loads, and North Texas travel plans.
For integrated battery, inverter, and monitoring work, explore RV solar and off-grid upgrades from Patriots RV Services.
Frequently Asked Questions
How do I calculate RV solar power needs?
List every appliance, its wattage, and expected daily runtime. Convert the total to watt-hours, then account for inverter, controller, and battery losses before sizing the array and battery bank. A manual load audit is more reliable than using generic averages. Patriots RV Services recommends accounting for system efficiency losses during load analysis: NREL load analysis guidance.
How many solar panels do I need for my RV?
Divide your daily watt-hour demand by available peak sun hours and a realistic system-efficiency factor. North Texas conditions vary by season, roof orientation, and shade, so panel count should follow your measured load rather than a fixed panel rule. A charge controller must also handle the array's maximum output current: NREL PV sizing guidance.
What size inverter do I need for my RV solar setup?
Add the running wattage of AC appliances you may use at the same time, then verify the inverter's surge rating for motor starts and compressor loads. Size for the highest realistic simultaneous demand, not your average daily consumption. A microwave and coffee maker, for example, may require more capacity than either appliance alone.
How much battery bank capacity does a boondocking RV require?
Size the bank for your daily energy use, desired days of autonomy, and the battery chemistry's usable depth of discharge. A North Texas owner using about 1,500 watt-hours daily may need a different bank than an owner running air conditioning or high-wattage cooking appliances. Lithium capacity, such as a 460Ah bank, can support deeper usable discharge than lead-acid: NREL battery guidance.
Do I need a special calculator for RV solar power?
No. An online calculator can organize the math, but it cannot know your actual appliance runtimes, seasonal sun exposure, roof shading, or inverter surge needs. Record real usage, check the nameplate ratings, and have the finished design reviewed before installation, especially when adding lithium batteries or 120V AC loads.
Ready to Plan Your RV Solar System?
A custom design can match your panel capacity, battery storage, inverter demands, and expected boondocking use instead of relying on rough estimates. For a North Texas RV setup, the right balance also helps account for seasonal sunlight and real-world electrical loads. Call Patriots RV Services at (940) 488-5047 to schedule a custom RV solar system design for your off-grid setup.