

How to Paint RV Cabinets: A Beginner’s Guide to a Fresh New Look
When giving your RV cabinets a fresh update, opt for high-quality acrylic or enamel paints for durability. Prep by cleaning, sanding, and priming the cabinets. Remove hardware, clean with degreaser, and fill in dents with wood filler. Use painter’s tape for precision. Choose the right primer and apply evenly with a brush or roller. After drying, apply multiple thin coats of paint for a professional finish. Don’t forget a clear polyurethane sealer for protection and RV detailing. Transform your RV’s appearance by following these steps and techniques for a stylish new look – and if you run into any issues with your RV during the process, consult a reliable RV service center for professional assistance.
Choosing the Right Paint
When revamping RV cabinets, we must carefully select paint that not only complements the overall aesthetic but also withstands the wear and tear of life on the road. Opt for high-quality acrylic or enamel paints for durability. Consider semi-gloss or satin finishes for easy cleaning and maintenance. Verify the chosen paint is compatible with the cabinet material; some woods may need priming to prevent bleed-through. Take time to prep the cabinets properly by cleaning, sanding, and priming for a flawless finish. Remember, multiple thin coats are better than one thick coat for a professional look. Lastly, don’t overlook ventilation and proper drying time between coats to achieve a long-lasting, beautifully refreshed cabinet appearance.
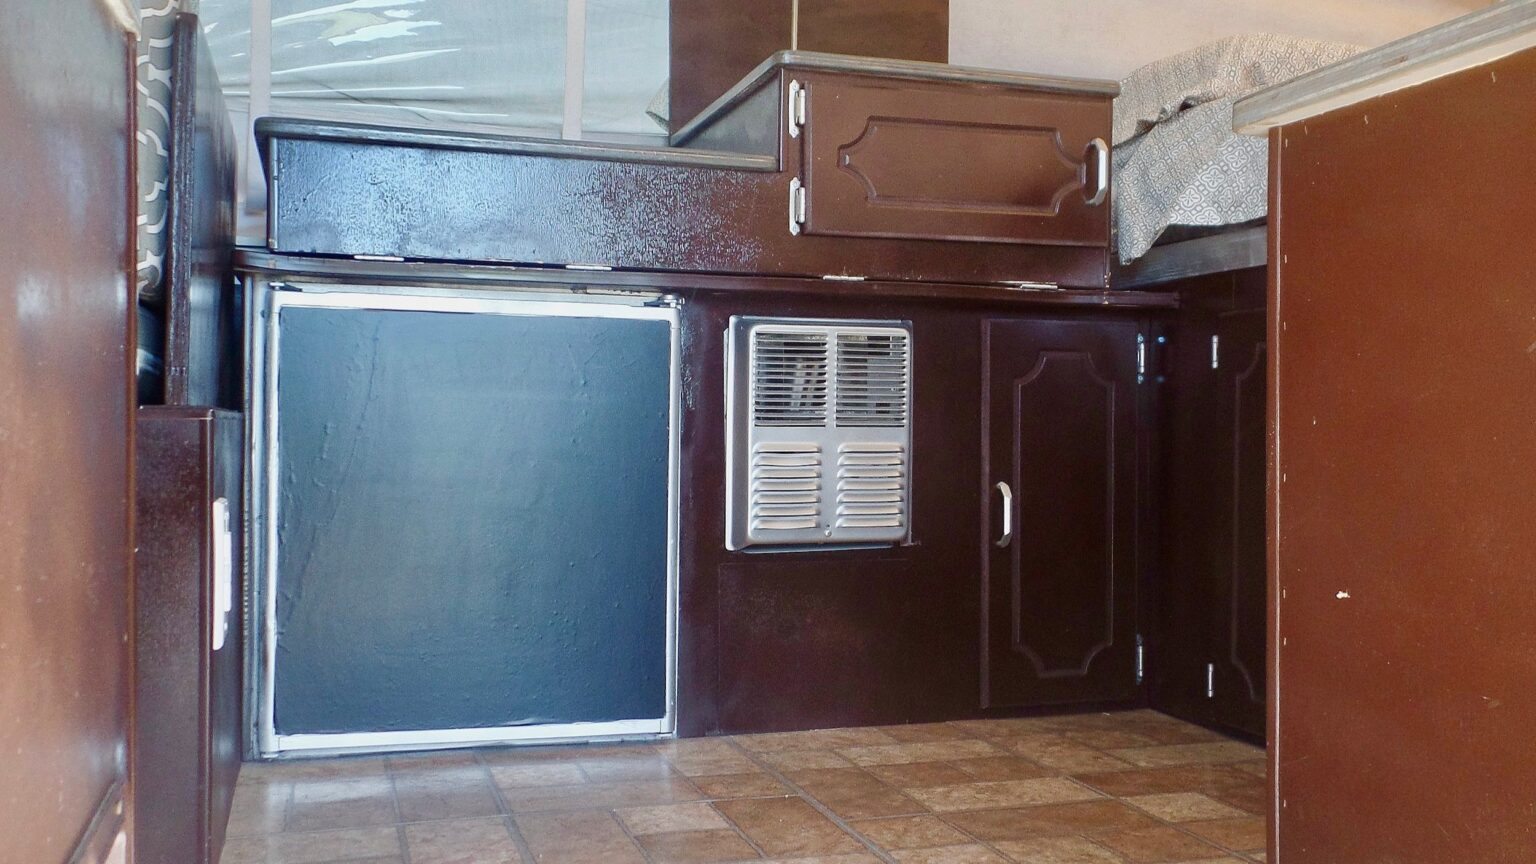
Preparing the Cabinets
To achieve a smooth and professional finish when painting RV cabinets, meticulous preparation of the cabinets is essential. Start by removing all hardware such as handles and hinges. Clean the cabinets thoroughly with a degreaser to remove any dirt, grease, or residue that could affect the paint adhesion. For a flawless result, sand the cabinet surfaces lightly to create a smooth base for the paint. Fill any dents or scratches with wood filler and sand them down until they are flush with the surface. Finally, use painter’s tape to protect areas you don’t want to paint, like hinges or countertops. This careful preparation is the foundation for a stunning cabinet transformation.
Applying Primer for a Smooth Finish
Let’s explore the significant step of applying primer to achieve a smooth finish on your RV cabinets. Before diving into painting, applying a high-quality primer is essential for a flawless outcome. Start by cleaning the cabinets thoroughly to remove any dirt or grease that could affect the primer’s adhesion. Next, lightly sand the surface to create a better grip for the primer. Choose a primer specifically designed for the material of your cabinets, whether wood, laminate, or metal, for best results. Apply the primer evenly using a brush or roller, making sure to cover all areas completely. Allow the primer to dry according to the manufacturer’s instructions before moving on to the painting process for a professional-looking finish.
Painting Techniques for Professional Results
For achieving a professional finish when you want to paint RV cabinets, mastering specific techniques is essential. Here are five key painting techniques to help you achieve professional results:
– Preparation: Properly clean and sand the cabinets to guarantee a smooth surface for the paint to adhere to.
– Priming: Apply a high-quality primer to enhance paint adhesion and create a uniform base for the topcoat.
– Brushing and Rolling: Use a high-quality brush and roller to apply paint evenly and avoid streaks or brush marks.
– Layering: Apply multiple thin coats of paint instead of one thick coat to prevent drips and achieve a smooth finish.
– Drying and Curing: Allow sufficient drying and curing time between coats to secure a durable and professional-looking finish.
Sealing and Protecting Your Newly Painted Cabinets
After completing the painting process, our next important step involves sealing and protecting our newly painted cabinets to ensure long-lasting durability and a professional finish. To achieve this, we recommend using a high-quality clear polyurethane sealer specifically designed for cabinets. Apply the sealer evenly using a brush or roller, following the manufacturer’s instructions for drying times between coats. Provide proper ventilation during the sealing process for best results, especially when working around exterior features like a slide topper upgrade. Once the cabinets are fully sealed and dried, consider adding felt pads to the inside of doors and drawers to prevent scratches and prolong the life of the paint job. By taking these extra steps to seal and protect your cabinets, you’ll enhance their longevity and maintain a polished appearance for years to come.
Related Topics:
- How to Repair Water Damaged RV Roofs: Tips and Tricks
- How to Repair RV Roof Membrane: Easy DIY Solutions