How to Paint RV Interior: Prep, Paint, and Finish Like a Professional

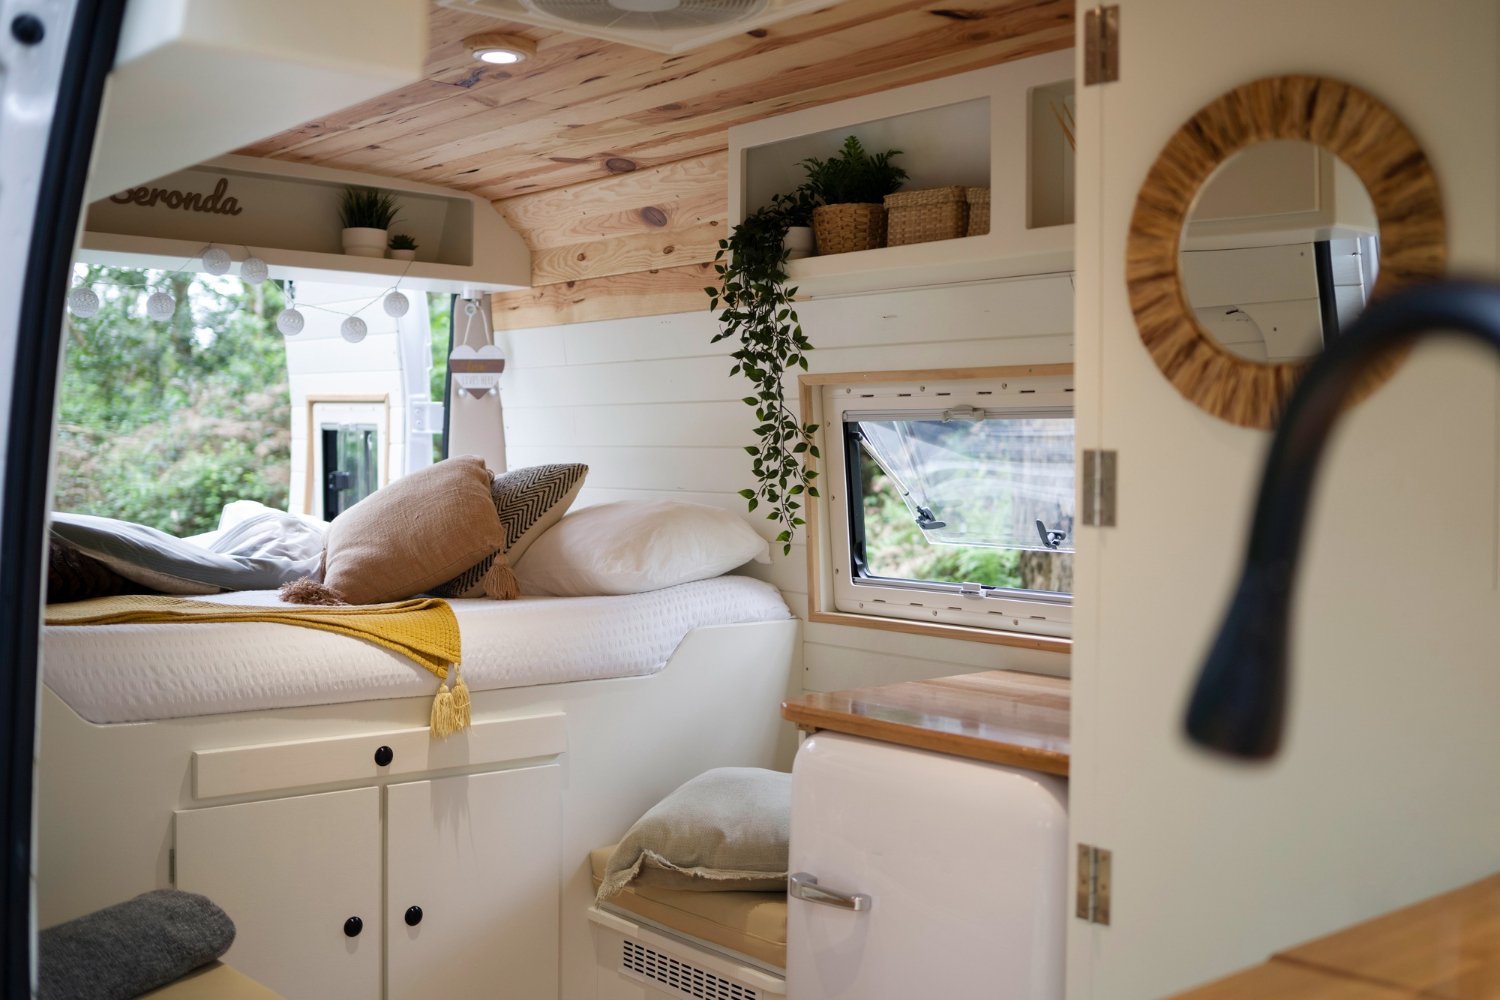
Painting your RV interior can completely change how it looks and feels inside. This guide walks you through the whole process step by step. You’ll learn what tools you need, how to prep surfaces, pick the right paint, and apply it properly. We’ll also cover finishing touches and care tips to make your paint job last. With the right approach, you can get results that look like they came from a professional RV collision center.
Essential Tools and Materials
You need the right tools to paint your RV interior properly. Get good paint brushes in different sizes for smooth, neat work. Buy a sturdy paint roller and tray for covering big areas fast. Get painter’s tape to protect spots you don’t want painted and make clean, straight lines. You’ll need sandpaper in different textures to prep surfaces so paint sticks well. Keep a tack cloth ready to wipe away dust before painting. Pick high-quality paint in the color and finish you want to transform your RV’s inside.
Prepping the RV Interior Surfaces
Start by cleaning all inside surfaces of your RV well. Remove dirt, grime, and old residue that might stop paint from sticking. Use mild soap or mix water with vinegar to wipe down walls, ceilings, cabinets, and other surfaces. Pay extra attention to areas near the kitchen where grease might build up. After cleaning, lightly sand surfaces with fine sandpaper to improve paint adhesion. Wipe sanded areas with a tack cloth to remove dust. Then tape off areas you don’t want painted, like trim or windows, using painter’s tape for clean lines and a neat finish.
Choosing the Right Paint for RV
Picking the right paint for your RV interior is crucial for achieving a tough, good-looking finish. RVs face unique conditions like temperature changes and movement. Use acrylic latex paint because it’s strong, easy to clean, and sticks well. Look for paints made for interior use since they’re built to handle RV conditions. Pick semi-gloss or eggshell finishes because they’re easier to clean and maintain. Choose paint that fights mold and mildew to prevent problems later. Spend money on quality paint instead of cheap options to get a long-lasting, professional-looking job.
Painting Techniques for Professional Results
Getting professional results when painting your RV interior means using the right techniques for a smooth, lasting finish. Follow these expert tips for the best results:
- Proper Surface Preparation: Clean and sand surfaces well so paint sticks properly
- Use High-Quality Tools: Buy good brushes, rollers, and painter’s tape for clean lines
- Apply Primer: Use quality primer to create a smooth base for paint
- Technique Matters: Use even strokes and keep a wet edge to avoid lap marks
- Multiple Thin Coats: Put on several thin coats instead of one thick coat for a professional finish
Applying Finishing Touches
Making your RV interior paint job look great and last long means paying attention to finishing touches. After paint dries completely, check walls for problems like drips or uneven spots. Use fine sandpaper to smooth rough areas, then wipe walls with a damp cloth to remove dust. Think about adding a clear topcoat for extra protection against wear. A polyurethane topcoat gives you a tough finish that’s easy to clean. Make sure you have good air flow during application and let it dry completely. Put back any fixtures or hardware you removed during painting to complete your RV interior’s polished look.
Maintenance Tips for Longevity
Taking care of your newly painted RV interior properly will make it last much longer. Here are five expert tips to keep your RV interior finish looking great:
- Regular Cleaning: Dust and dirt can damage paint over time, so clean surfaces often
- Avoid Harsh Chemicals: Use gentle cleaners to prevent paint damage
- Inspect for Wear and Tear: Check regularly for peeling or chipping paint and fix problems quickly
- Control Humidity Levels: High humidity can make paint bubble or peel, so use dehumidifiers if needed
- Store Properly: When not using your RV, park it under cover to protect the paint from the sun and bad weather

