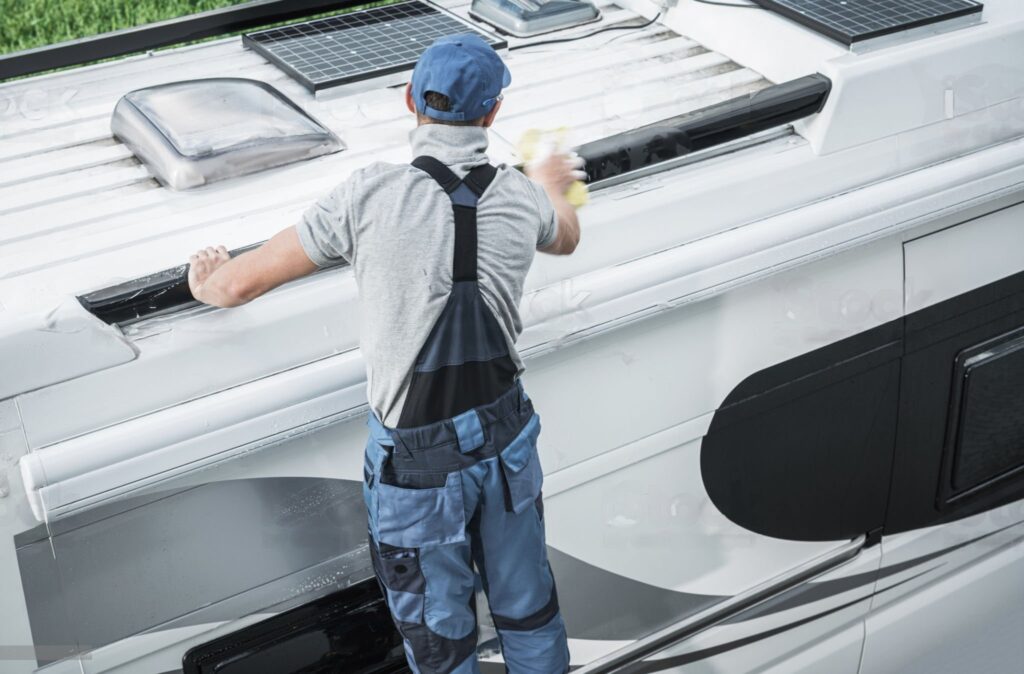
How to Inspect Your RV Roof Before and After a Road Trip

Your RV roof takes a beating from weather, road debris, and time. Knowing how to inspect it properly can save you from expensive damage down the road. This guide walks you through the steps to check your roof before you leave and after you return. Finding a reliable RV repair and service provider becomes much easier when you catch problems early. We’ll cover the tools you need, what to look for, and how to keep your roof in good shape.
Why Roof Inspections Matter
Your RV roof is your first line of defense against rain, snow, and sun. A thorough inspection can identify potential leaks, cracks, or damage that could result in significant expenses later. By checking your roof regularly, you can catch small problems before they turn into major headaches. This means fewer surprises on the road and more money in your pocket. Being proactive about roof care keeps your RV solid and your trips worry-free.
What You’ll Need for the Job
Grab a sturdy ladder, flashlight, and some sealant before you start. The ladder helps you get up there safely, allowing you to see everything clearly. A flashlight helps you spot damage in dark corners and shadowy areas. Keep sealant handy for quick fixes on small leaks or cracks you might find. You may also want to have a notebook and a pen to record your discoveries. These basic tools enable you to conduct a thorough inspection and address minor repairs promptly.
Checking Your Roof Before You Go
Get your RV ready for the road by following these steps:
- Check Seals and Caulking: Look at all seals around vents, skylights, and antennas. Watch for signs of cracking, peeling, or gaps that allow water to enter.
- Look Over the Roof Material: Check the roof for tears, holes, or bubbles. Pay extra attention to seams and edges where problems often start.
- Clean and Protect the Roof: Remove dirt, debris, and mildew from the surface. Apply roof treatment to protect against sun damage and extend the lifespan of your roof.
Checking Your Roof After Your Trip
When you return home, take a moment to inspect your roof again. Look over the surface for cracks, tears, or punctures that might have happened on the road. Inspect all seams, edges, and seals for leaks or signs of separation. Ensure that roof accessories, such as vents, antennas, and air conditioning units, remain securely in place. Clean off any dirt, debris, or road grime that has built up during your trip. Pay close attention to the caulking around vents and seams; it should be solid and crack-free. Write down any problems you find and fix them quickly.
Problems to Watch For
Keep an eye out for these common roof issues:
- Leaks: Look for water stains on your ceiling or walls inside the RV – they point to roof leaks.
- Cracks and Tears: Inspect the roof membrane for cracks, tears, or holes that allow water to enter.
- Sealant Problems: Look for worn-out or missing sealant around vents, skylights, and antennas where leaks often start.
Catching these issues early and fixing them fast helps keep your RV roof working properly for years to come.
Keeping Your Roof Healthy
Good roof care extends the life of your RV and prevents expensive repairs. Inspect your roof twice a year, focusing on seams, seals, and damage. Clean it with mild soap and a soft brush to remove dirt that causes wear. Check caulking around vents, skylights, and antennas, and reseal worn or cracked areas. Trim tree branches that might scratch or damage your roof. Consider using RV covers for long-term storage to protect against harsh weather conditions. Following these simple steps keeps your roof in great shape and saves you money over time.
Related Topics:

